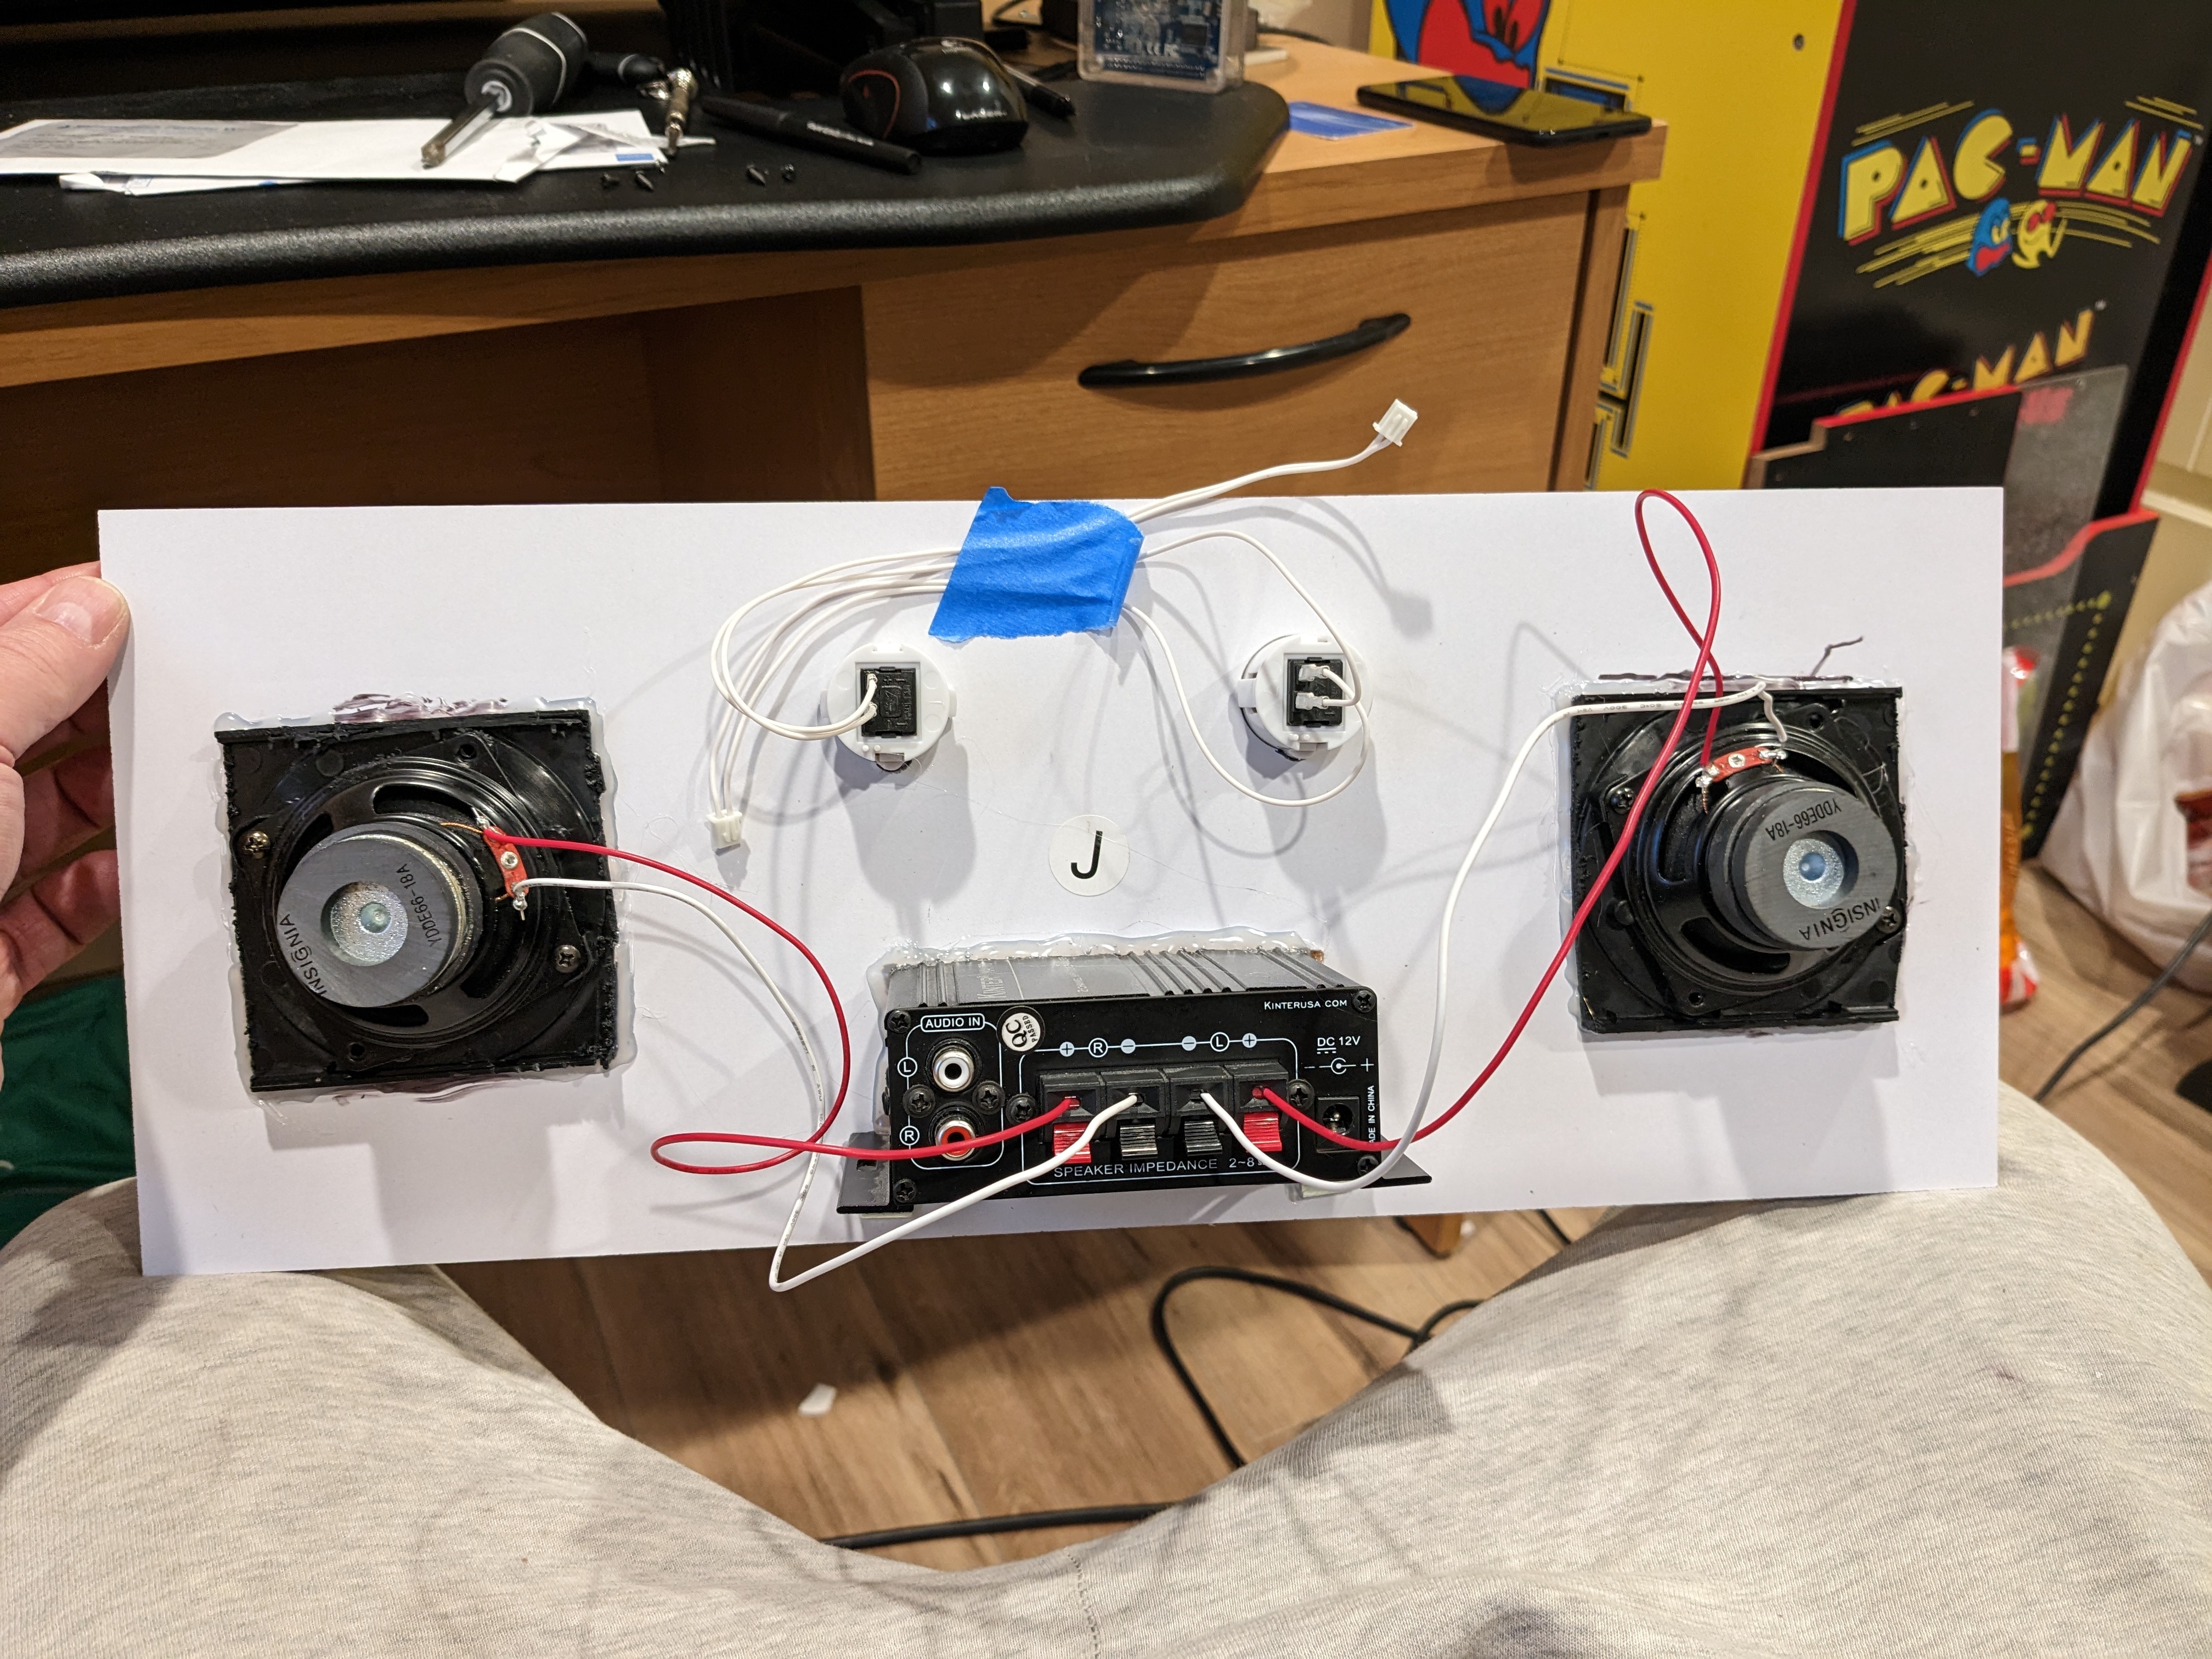
I like recycling, so I had an old Insignia NS-PCS40 pair of desktop speakers. I didn't find the speaker specifications, aside from it using a power adapter that output 12V and 700mA load. When we ripped the speakers appart (doh, screws behind the fabric), I found they were 4 Ohm 40 W. The amplifier I bought, the Kinter MA 170, would have no problem powering those...


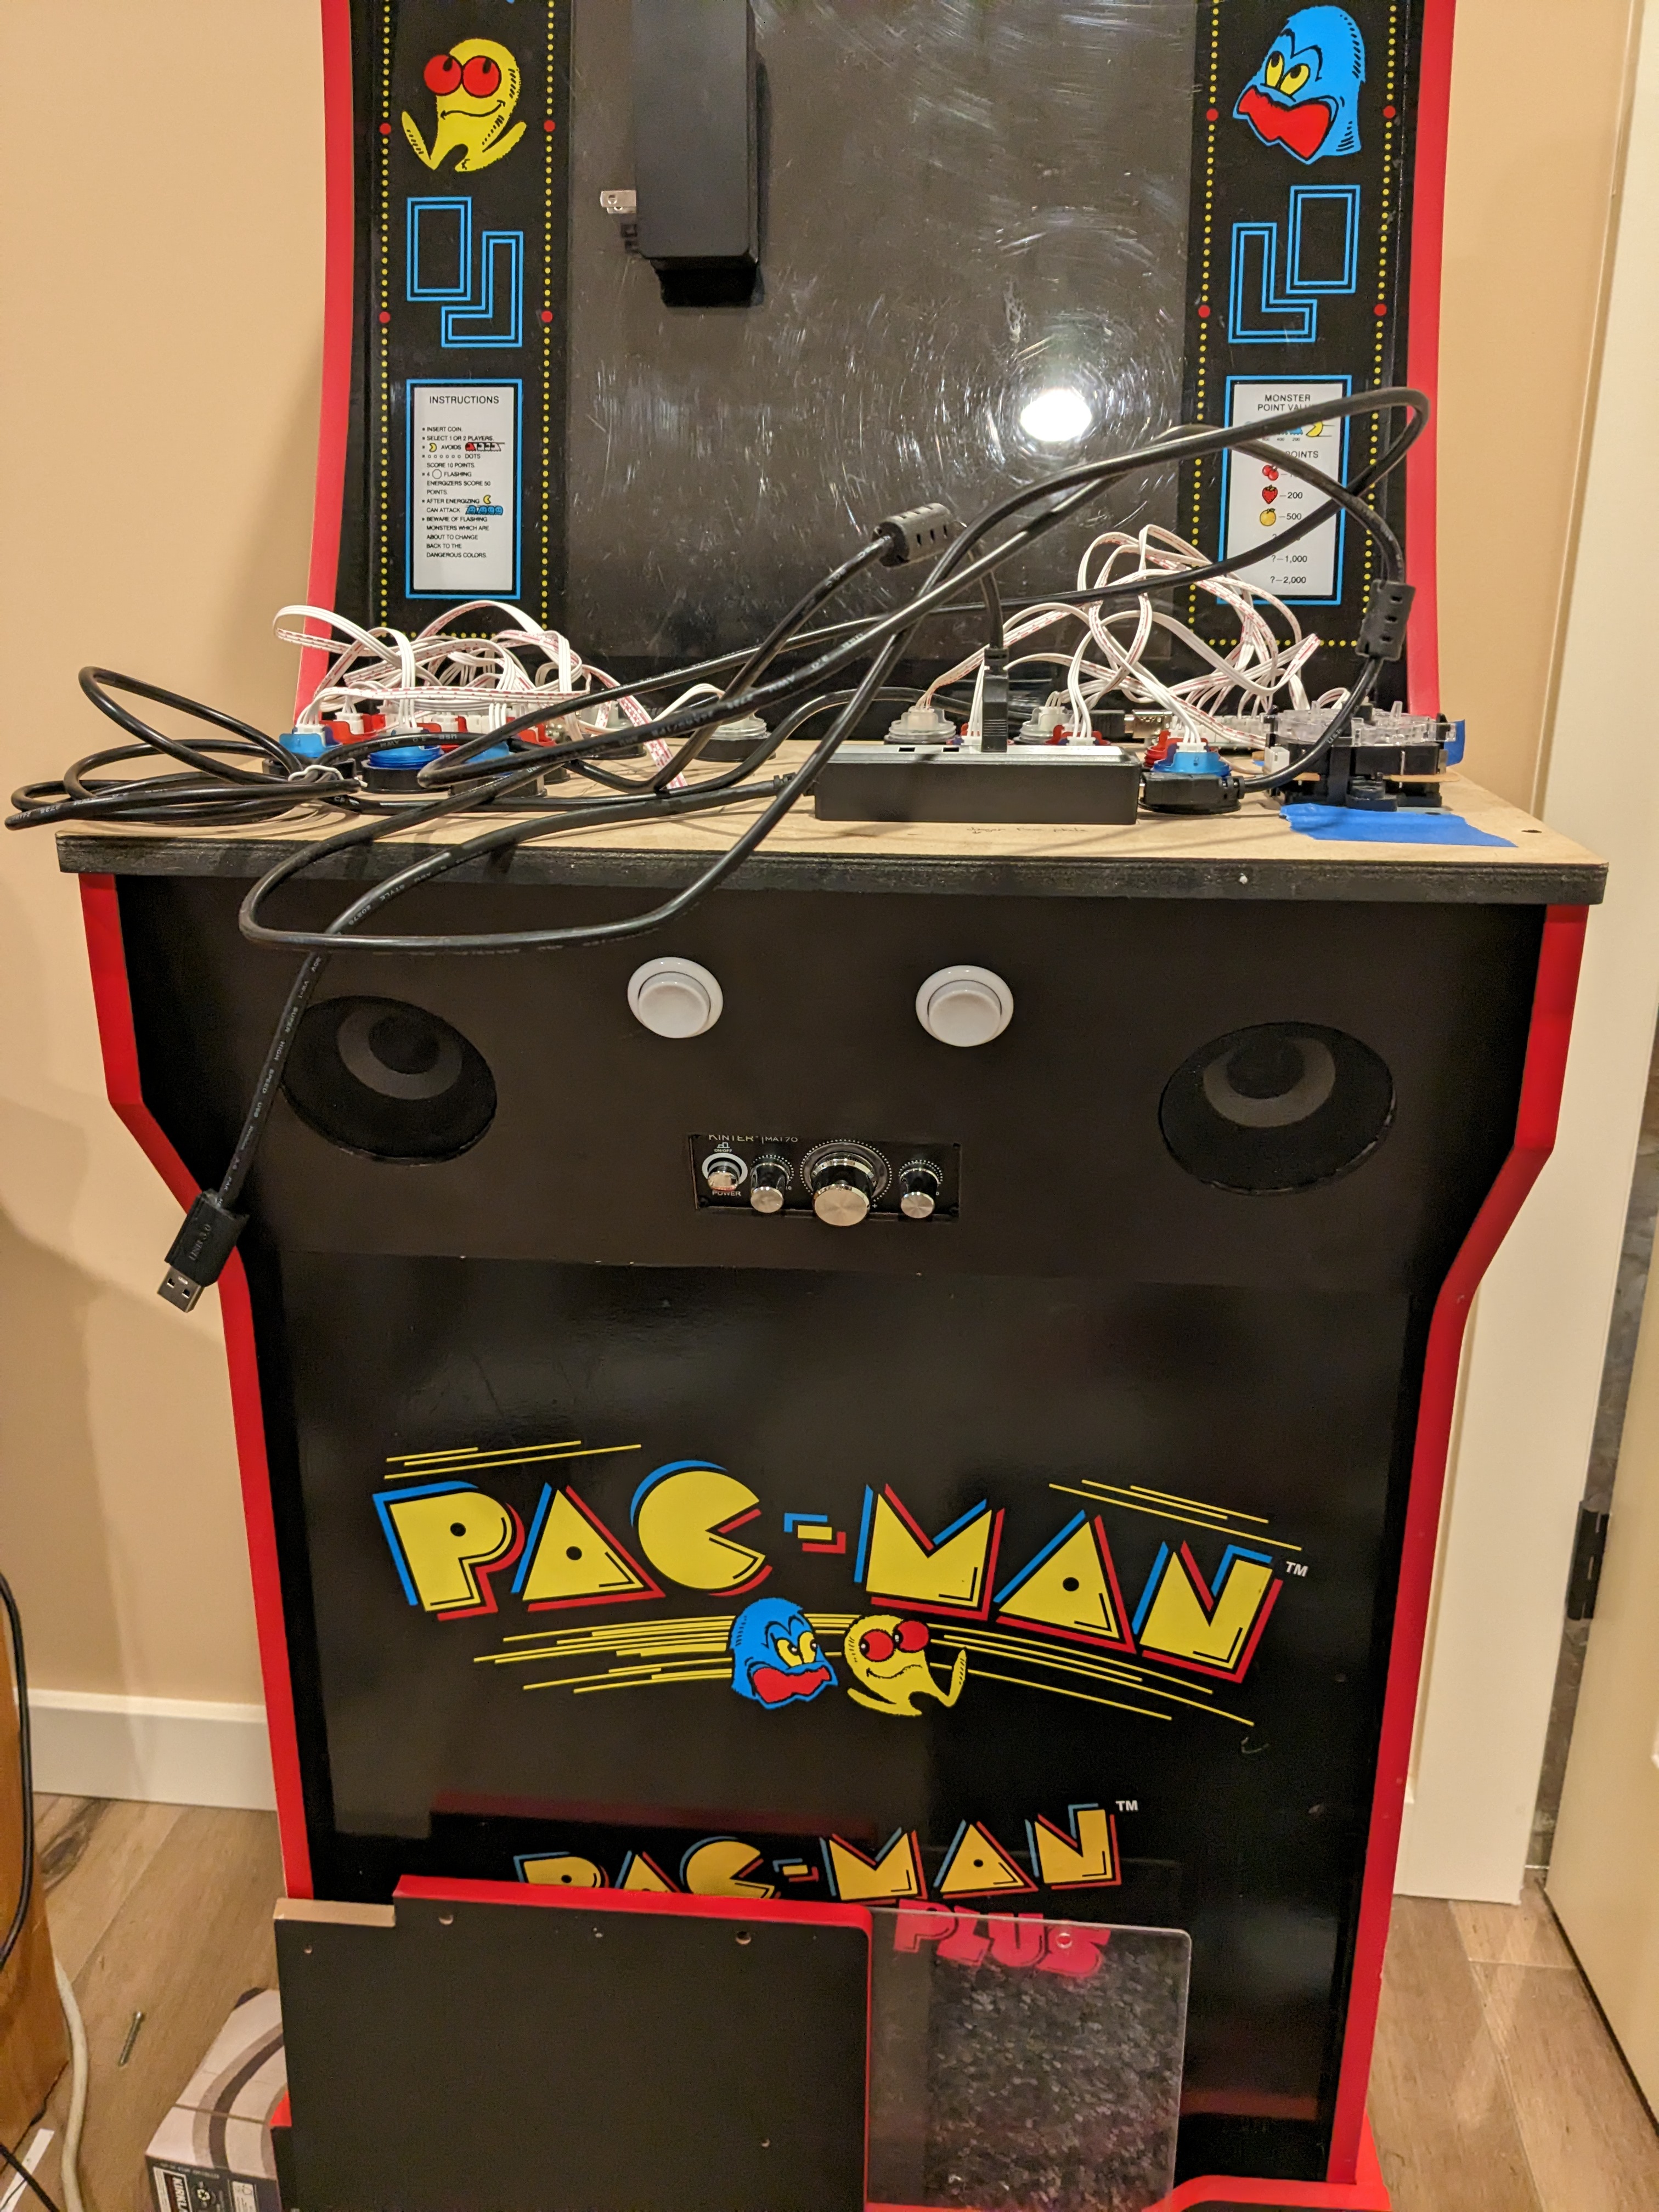
However, the final product was almost perfect. I just needed to use my dremmel to make notches for the arcade buttons. My plan for them is to connect them to the GPIO on the Odroid and use them for restart or shutdown. Almost - means that in hind sight I should lower the buttons by 3/4" because I miscalculated the USB hub position and height for when USB cables are plugged in! I was lucky in that I could position the cables around the button and still use the wiress network and keyboard adapters.
I added 1/2" angle brackets under the amplifier with hot glue to give it more stability. Again, hindsight tells me I should have raised the amplifier box by 1/4".

No comments:
Post a Comment